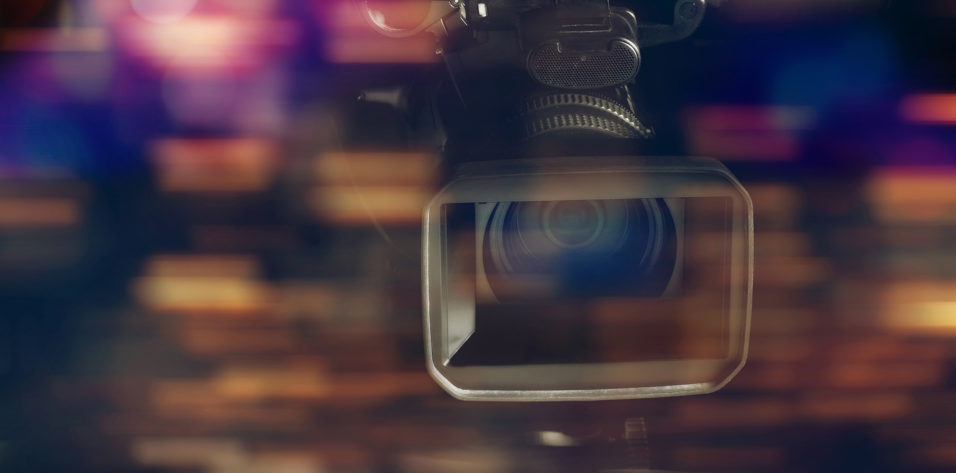
Many practices take advantage of the high-resolution cameras on smartphones and iPads or other tablets to create custom videos of doctors talking about their practices and procedures. There are many benefits to posting these self-produced videos on one’s practice’s website or on social media: They are inexpensive to produce, they give patients opportunities to become acquainted with the doctor in advance of their visit, and they can generate new patients if the programs are done right. The problem is, however, that many of these videos lack basic production values and are not effective in holding visitors’ attention long enough to create a positive and lasting impact.
PITFALLS OF CHEAP VIDEO PRODUCTIONS
We are all sophisticated viewers of broadcast television programs that cost millions of dollars per episode to create. Because we see so much professional production, amateur or cheap videos are easily recognized as cheap, and therefore they often make undesirable impressions.
Professional production requires many factors, including use of good lighting, clean and attractive backgrounds, clear and crisp audio, steady cameras, and concisely delivered messages supported by graphics and educational imagery. Unfortunately, many of the custom videos featured on practice websites today are poorly lit; have busy or cluttered backgrounds, hollow and noisy audio, and jerky camera movements; and consist of a doctor or other individual representing the practice delivering an unscripted message.
Poorly produced videos may cause potential patients to think that the practice is willing to cut corners to save money on video production. This can then lead them to wonder whether the practice will also cut corners when it comes to patient care.
HOW CAN I DO IT RIGHT?
I get it: Not everyone has a $10,000 to $25,000 budget to hire a professional video crew and shoot with a $75,000 state-of-the-art, high-definition camera. Professional crews typically include a producer or director to supervise the production, a director of photography who can light and artfully compose every scene and make everyone look his or her best, and a sound technician to ensure the highest quality audio.
Since many practices are not in a position to invest in professional production, here I offer four overarching tips for do-it-yourself practices that can help them more closely capture the high-quality feel of a professionally produced video. For a quick snapshot, also see Custom Videos: Do’s and Don’ts.
Custom Videos: Do’s and Don’ts
Do
- Place camera on a tripod
- Use an external microphone or move the camera closer to the speaker
- Position interviewer 1 foot to the side of the camera lens
- Find an attractive location with a clean and uncluttered background
- Use neutral-colored wardrobes without pin stripes and skin–colored base makeup to reduce facial shine
- Shoot B-roll and add animations and graphics to keep the video interesting
Don't
- Don’t use the camera’s zoom feature
- Don’t record in an area with fluorescent lights directly overhead
- Don’t allow hollow and noisy audio
- Don’t keep overhead music and equipment fans on
- Don’t allow the doctor to deliver an unscripted message
Tip No. 1: Camera and lighting. When selecting a shooting location, make sure the background is uncluttered and attractive. Avoid busy areas, open windows, and fluorescent lights directly over the speaker’s head. Put the camera, phone, or tablet on a tripod, and don’t use the zoom-in or zoom-out features. If using a phone or tablet, turn the device horizontal before recording. Appoint someone the ad hoc producer, standing behind the camera with his or her head even with the camera height and positioned about a foot to the side of the camera.
The speaker should look straight at the producer, rather than directly into the camera. If the speaker’s face or forehead is shiny, use some base powder makeup to minimize glare. Avoid wardrobes with the color red, bright white lab coats, and pinstriped suits. Younger doctors should wear their surgical scrubs to make them look more experienced.
Tip No. 2: Audio. Turn off any background music and paging system, and avoid being next to a window through which noisy traffic or other outdoor noise pollution can be heard. If an external, clip-on microphone cannot be used, position the camera as close to the speaker as possible, and have that person speak a little louder than normal. Make sure other external noises coming from air vents or laser fans are eliminated or minimized. Avoid distracting the speaker by having only one person in the room to ask all the questions.
Tip No. 3: Scripting and teleprompting. Don’t let the speaker improvise or think that mistakes can easily be edited out of what is recorded. Have the speaker write scripted narrations and review what was written ahead of time so that it can be spoken accurately and succinctly. There are several free teleprompter apps that can be downloaded that allow you to enlarge the script and scroll it down the screen of a tablet at a comfortable reading speed.
If a teleprompter or tablet is used, instead of positioning the producer to the side of the camera, mount the teleprompter or tablet about 1 foot to the side of the camera. Text should scroll at a speed at which it can be comfortably read by the speaker. If the speaker stumbles while reading, have him or her read the whole paragraph again, or move the camera back a couple of feet and pick up recording right before the sentence that included the mistake; that will create more flexibility in editing and make it look like the video was shot with two cameras instead of one.
Tip No. 4: B-roll and editing. The iMovie app (available for iOS only) is one of the easiest ways to edit video. Again, the sign of a cheap production is that it consists of nothing more than a talking head. Shoot some scenes of the doctor interacting with patients and in surgery to visually support what is being said. These scenes, known as B-roll, can be inserted over the speaker’s narration to make the final program more interesting and hold the viewer’s attention.
It is always better to use graphics to describe eye conditions, diseases, and procedures than to show actual surgery, which can be scary to most patients. Don’t insist on putting music under the program, especially if it is copyrighted music.
Keep videos short. It’s better to have several short videos, with titles such as “What is a Cataract?” “How are Cataracts Removed?” “IOL Options,” and “What to Expect Before and After Surgery,” than one long video. Lastly, don’t forget to have anyone seen in the video sign a model release form.
CONCLUSION
To see examples of professionally and nonprofessionally produced videos, visit www.patienteducationconcepts.com/product/custom-videos/.


